Buy on Walmart

The Practic Drop Dryer

Dry your laundry overhead. Free up your floor.

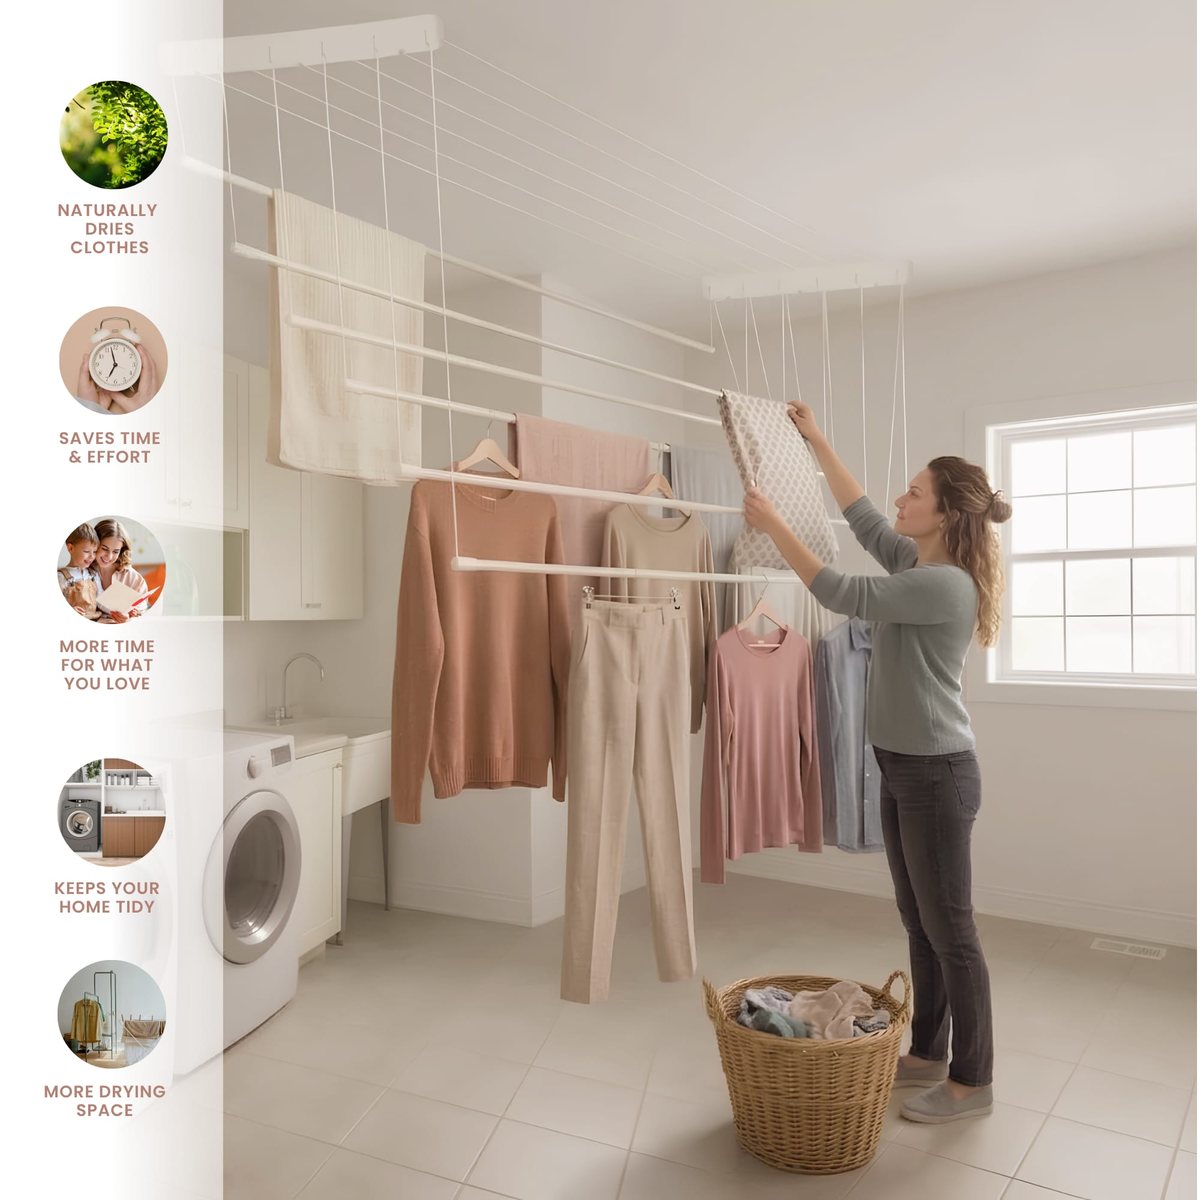
A ceiling-mounted pulley drying rack. Pull a rod down, hang your clothes, raise it back up. Your laundry dries by the ceiling, out of the way.

  • 6 rods
  • 24 ft drying space
  • Up to 26 lb
  • No electricity
White Practic Drop Dryer mounted on a laundry room ceiling with shirts drying on hangers overhead

Before & after

No more drying racks all over the house

Floor racks take over the laundry room, the dining room, the bedroom. Move it all up to the ceiling and get your room back.

Before: laundry hung on improvised lines and piled on the machines in a cluttered laundry room
Before

Racks on the floor, clothes on lines, doors and chairs. Nowhere to walk.

After: the same laundry room with clothes drying on the ceiling rack and the floor clear
After

Laundry up by the ceiling, floor clear, room looks tidy while it dries.

How it works

Lower. Hang. Raise.

  1. Woman pulling a cord to lower a rod of the ceiling drying rack
    1

    Lower

    Untie the cord from the wall hook and the rod comes down to you. No ladder, no bending down.

  2. Woman hanging clothes on hangers onto the lowered rods
    2

    Hang

    Hang shirts, pants and towels on hangers or straight over the rod. Each rod moves on its own, so lower just the one you need.

  3. Bright bathroom with the drying rack raised up near the ceiling
    3

    Raise

    Pull the cord, tie it off, and your laundry dries up by the ceiling, out of the way.
Why people love it

Small fix, big difference

  • Saves floor space

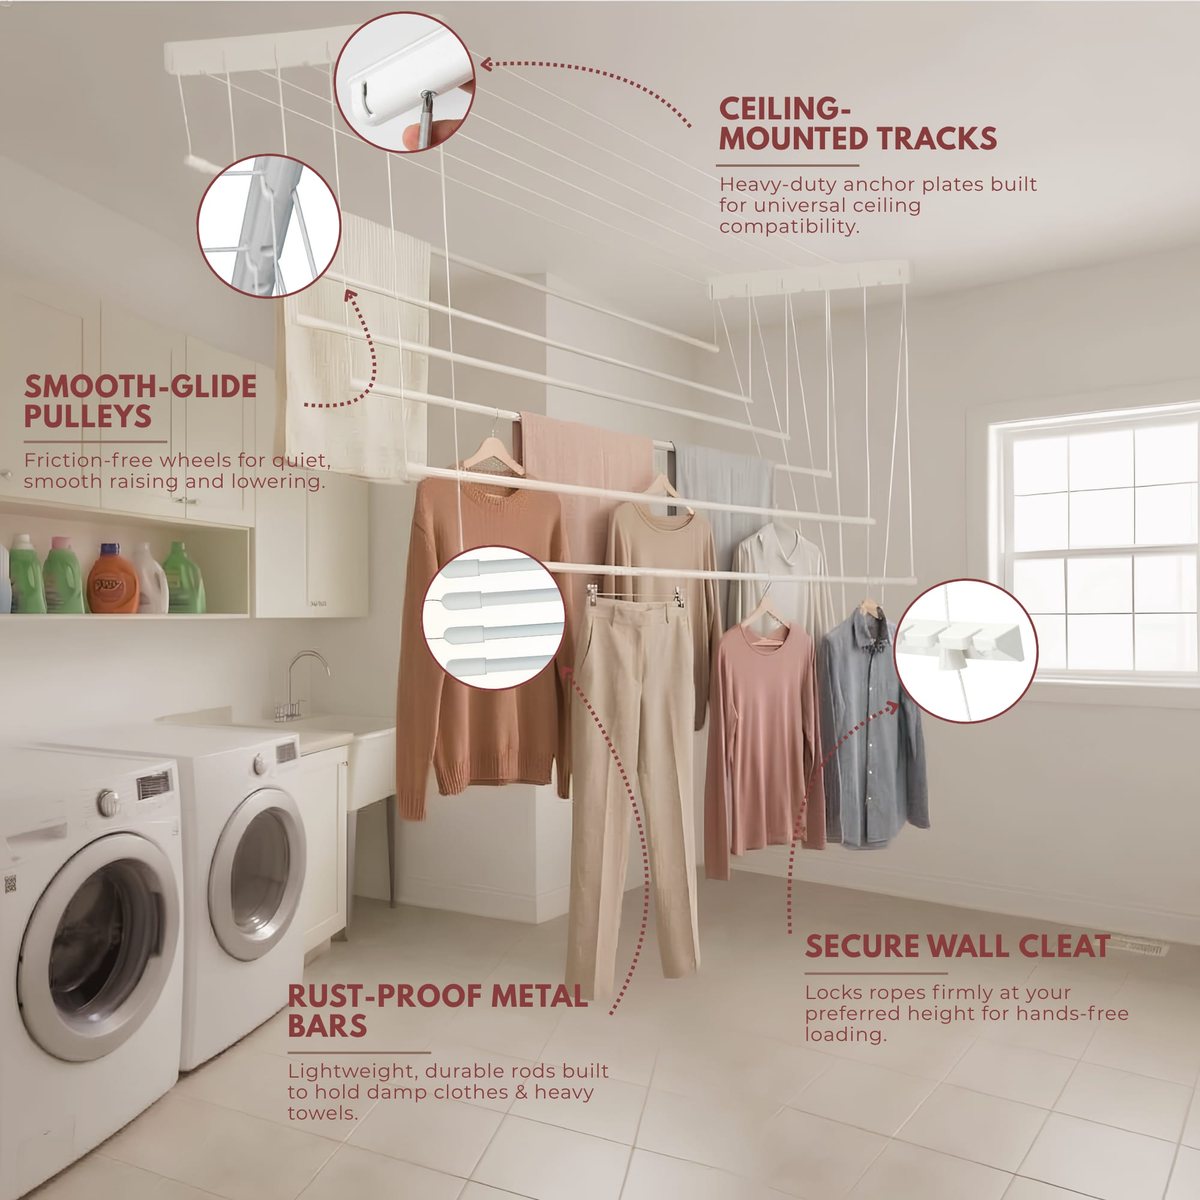
    Mounts on the ceiling, so drying clothes stay up high and out of your way.

  • Holds a full load

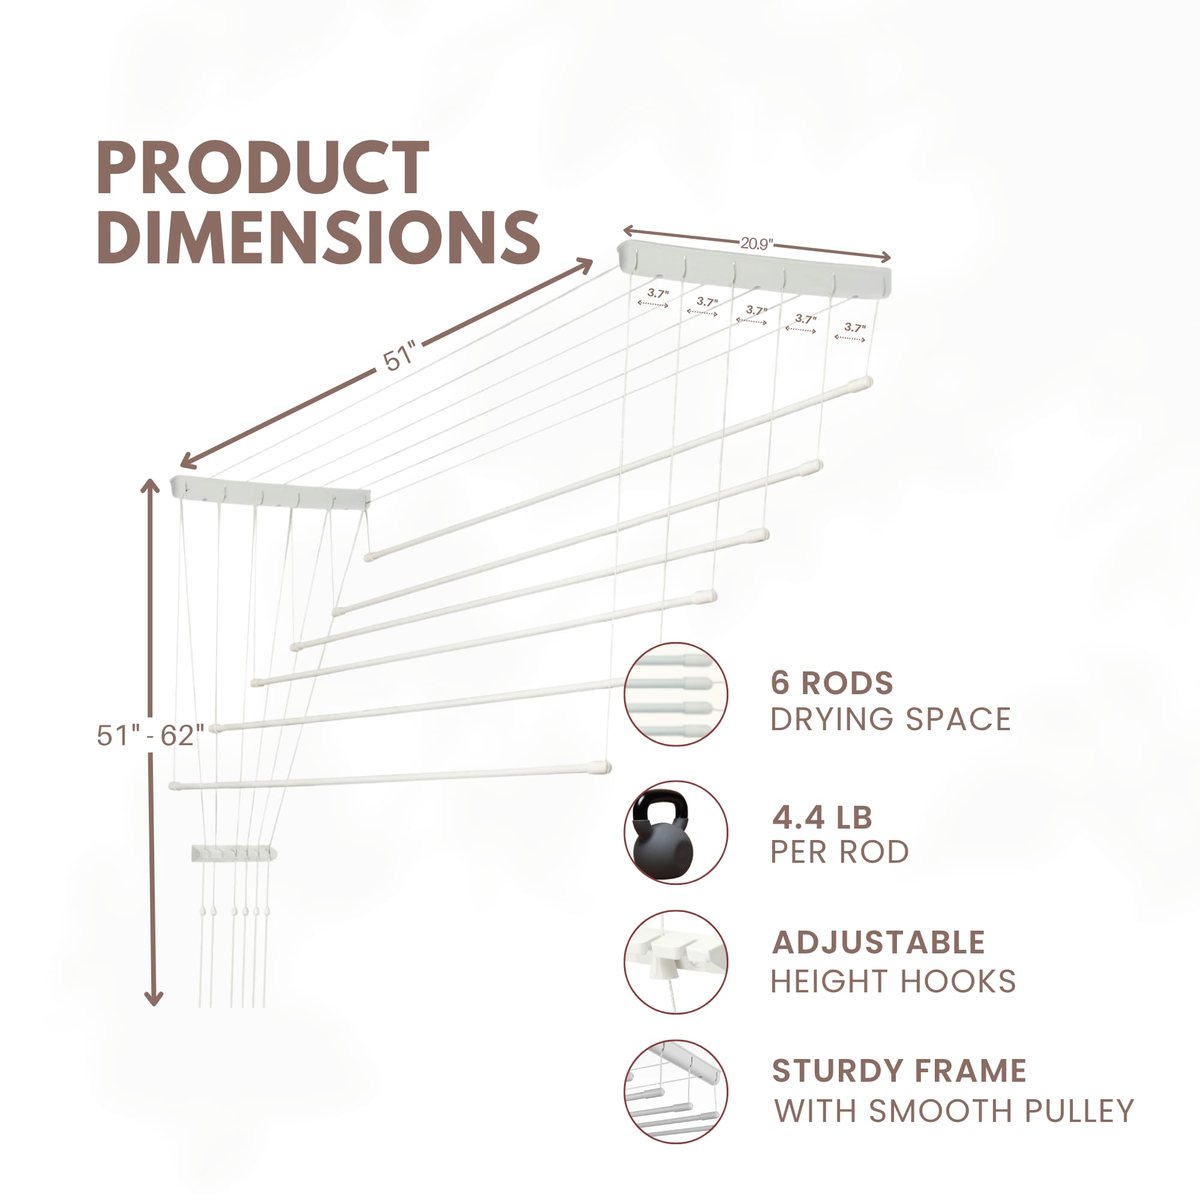
    6 rods, each 51 inches long. 24 feet of drying space, room for lots of hangers.

  • Great airflow

    Warm air rises. Clothes spread out up high get air all around them.

  • Eco-friendly

    Fully manual pulley. No electricity, no dryer running, no energy bill.

  • One rod at a time

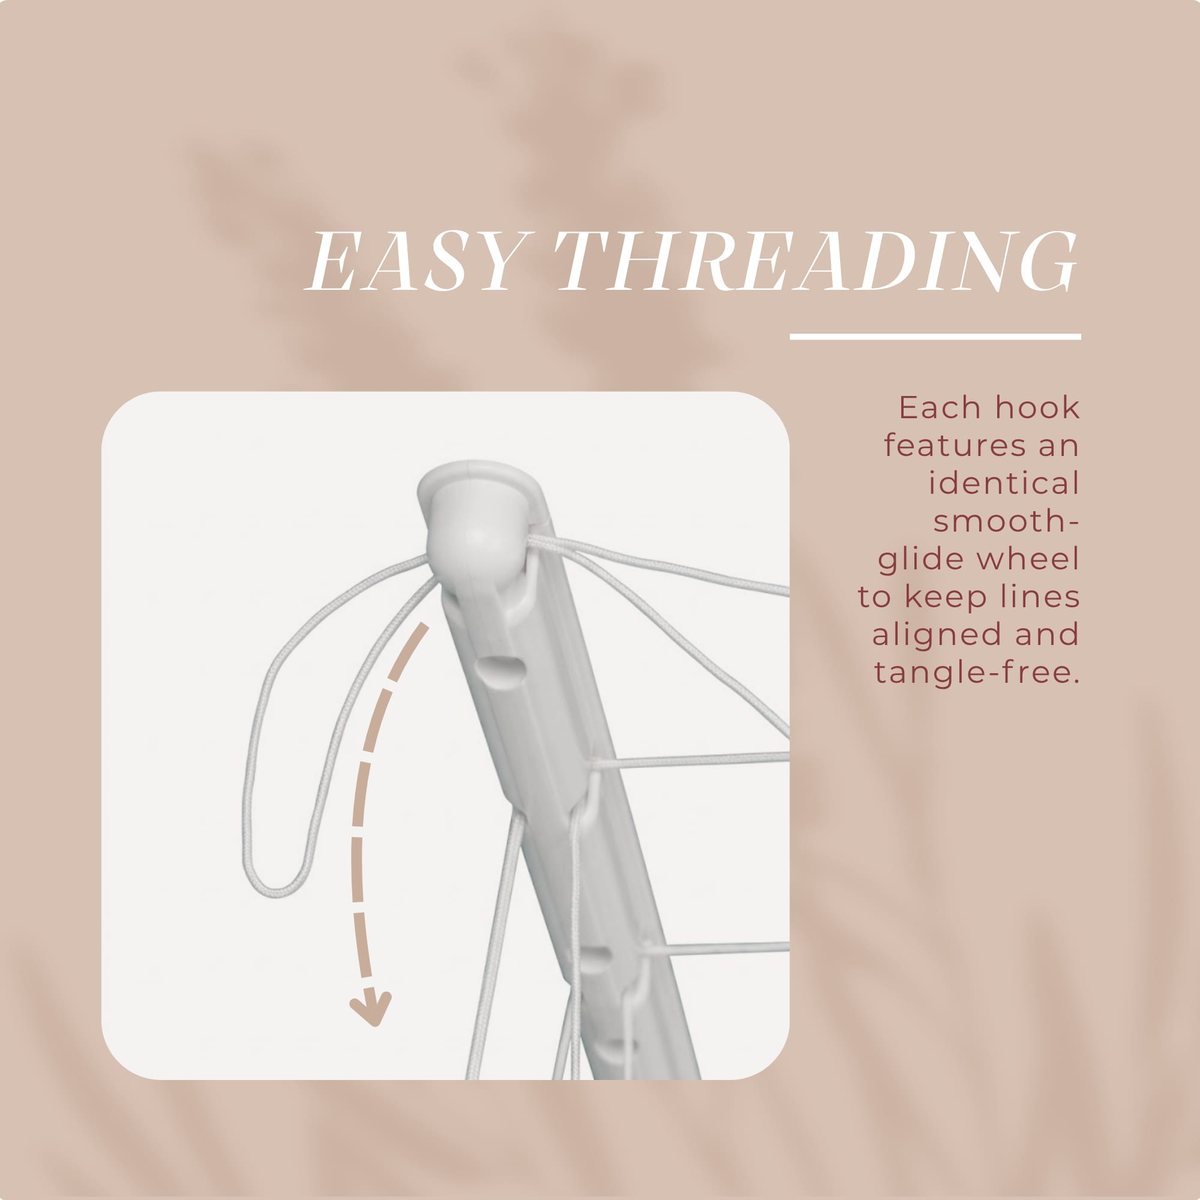
    Every rod has its own pulley. Lower one, leave the rest drying.

  • Easy install

    Screws into your ceiling. Instructions included.

Specs

The details

Rods
6, each with its own pulley
Rod length
51 in (4.25 ft)
Drying space
24 ft total
Max load
26 lb
Product weight
8.5 lb
Material
Metal, rope, plastic
Color
White
Mounting
Ceiling, screw mount
Operation
Manual pulley, adjustable height
Use
Indoor & outdoor
Assembly
Required, instructions included
Model
Prahom-01

Installation

How to install it

From the official Practic Home installation instructions.

Download installation guide (PDF)

Required tools

  • Screwdriver
  • Power drill
  • Drill bit 8 mm
  • Pencil
  • Tape measure

Materials in the package

  • Rail×2
  • Screws×8
  • Rope cap×12
  • Pulley frame×1
  • Rope×6

Step by step

  1. Step 1: Rail held against the ceiling while marking holes with a pencil

    1Hold the rail to the ceiling. Mark screw hole positions with a pencil.

  2. Step 2: Drilling holes in the ceiling

    2Drill holes at marked positions using a Ø 8 mm drill bit.

  3. Step 3: Screwing the rail to the ceiling

    3Insert anchors into each drilled hole and screw each rail firmly to the ceiling through the bracket holes.

  4. Step 4: Two rails on the ceiling, spaced rod length minus 2 cm

    4Position both rails. Second rail distance = rod length (X) minus 2 cm. Drill and fix the second rail in the same manner.

  5. Step 5: Measuring the rope clamp height from the floor

    5Measure the rope clamp at 130–160 cm from floor.

  6. Step 6: Marking the rope clamp holes on the wall

    6Mark screw hole positions with a pencil.

  7. Step 7: Drilling the rope clamp holes

    7Drill holes for the rope clamp in the same manner.

  8. Step 8: Screwing the rope clamp to the wall

    8Insert anchors into each drilled hole and screw the clamp firmly to the wall where it was marked.

  9. Step 9: Rod with rope ends hanging down on both sides

    9Straighten both ends down on both sides.

  10. Step 10: Threading the rope through the rail

    10Thread one side rope through the rail. Pull until rope feeds through correctly.

  11. Step 11: Passing both rope ends through the second rail

    11Pass both rope ends through the second rail.

  12. Step 12: Rod raised to the ceiling

    12Raise rod fully to 0 cm reference position against the ceiling.

  13. Step 13: Feeding the rope ends through the rope cap

    13Feed ropes end through the rope cap. Confirm it hangs at correct length.

  14. Step 14: Double knot through the rope cap

    14Tie a secure double knot (x2) through the rope cap to secure rod.

  15. Step 15: Rod lowered to check it moves freely

    15Lower the rod fully to confirm it moves freely without obstruction.

  16. Step 16: Tying off the rope ends

    16Tie off each rope end (x2) securely through the rope cap.

  17. Step 17: Installed rack, raised and lowered with the rope

    17Installation complete. Pull rope to raise or lower the rod.

To operate

  1. Pull the rope downward: the rod lowers to a comfortable height.
  2. Hang your wet laundry on the rod.
  3. Pull the rope to raise the rod back up to the ceiling.
  4. Secure the rope in the clamp and allow laundry to dry.

Safety

  • Don’t install on unstable ceilings, or where there is a risk of electrical or water damage.
  • It should only be installed by a person with expertise in using power tools.
  • For hanging wet clothing to dry only. Max 26 lb total.
  • Not a toy. Strings are a strangling hazard; small parts are a choking hazard. Keep away from children and pets.
  • Always have all six rods up when not in use.
Download installation guide (PDF)

FAQ

Questions

How does it install?

It screws into your ceiling. Some assembly is required, and instructions come in the box. You can also follow the step-by-step installation guide above or download it as a PDF.

Where can I put it?

Laundry rooms, balconies, over the bathtub, closets and store rooms. It works indoors and outdoors.

How much can it hold?

Up to 26 lb in total, spread over 6 rods. That is 24 feet of drying space.

Do I have to lower the whole rack?

No. Every rod has its own pulley, so you can bring down one rod at a time.

Does it need power?

No. It is fully manual: a cord and pulley, nothing to plug in.

How do I take care of it?

Wipe off any dust now and then, and tighten the screw rod if it gets loose.

Wholesale

Stock the Drop Dryer in your store

Retailers, distributors and online sellers: tell us a little about your business and we will get back to you with wholesale pricing.

Questions?

Email us at info.practichome@gmail.com

Get your floor back.

The Practic Drop Dryer ships free on Walmart.

Buy on Walmart
Buy on Walmart